The Diving Game is a JavaScript game (desktop only) that myself and my Year 9 class wrote in August of 2016. I was asked to teach ActionScript and Flash in the context of gaming. But by 2016 the demise of Flash, if not imminent, was obviously near, so I decided that JavaScript would better serve the students. (The deprecation of Flash was then announced in 2017.)
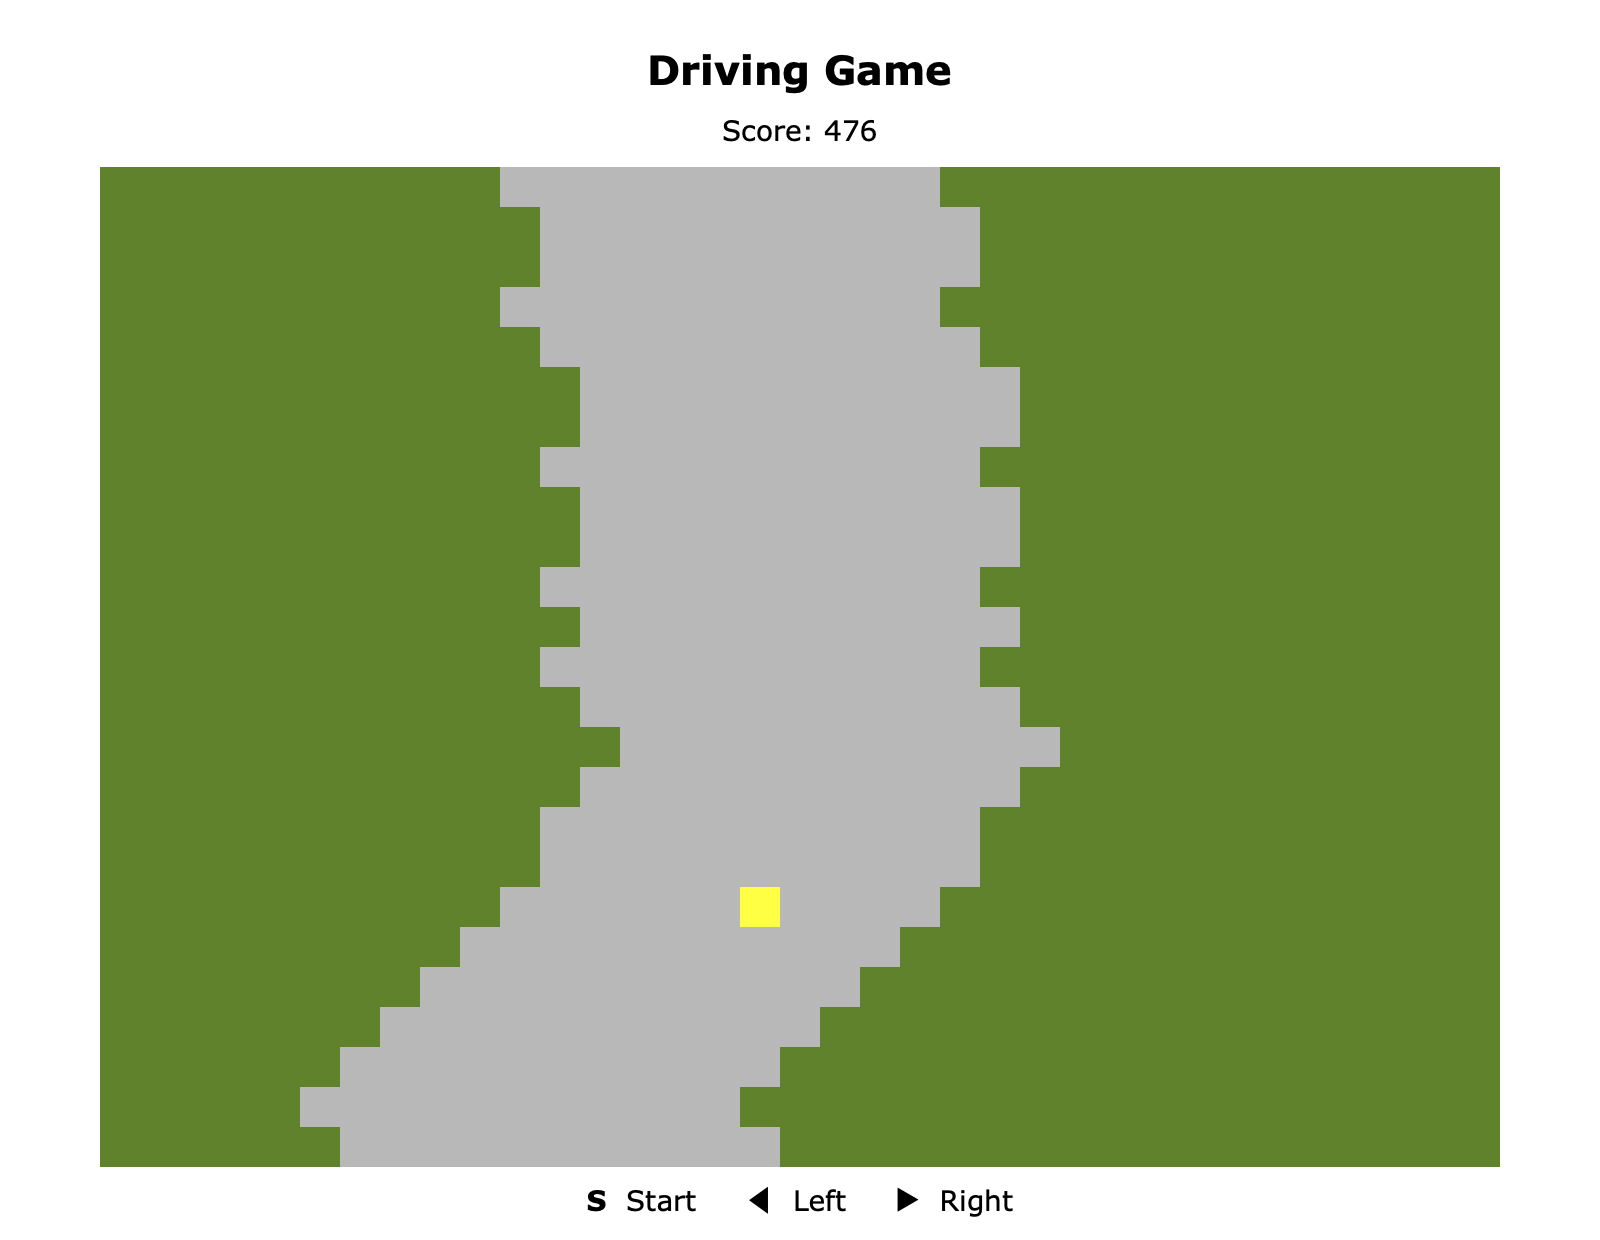
I took the idea from a program written in Basic that I typed out from a computer magazine into my computer in the mid-eighties. In that program the edges of the road were exclamation points and the car was an asterisk at the bottom of the screen. In this version we have moved the car upwards from the bottom of the screen and made the game increase in difficulty by slowly increasing the speed. Some other niceties have been added, including more natural key handling (see below) and a crash animation.
Students were quite creative in their colour and shape selection when writing their own versions. Some went to great lengths to render a more realistic top-down view of a car, and some replaced the green grass with pulsating psychedelic colours.
One interesting problem we had to solve was the handling of the cursor keys. It’s not as simple as left-cursor go left, right-cursor go right. The main problem is that most people will press one key before letting go of the other. So we had to keep track of which way the car was going, as well as examining key lifts in addition to key presses.
var gameIsRunning = false;
var changeInCarPos = 0; // used for steering

document.onkeydown = checkDown;
function checkDown(e)
{
   if (e.keyCode === 37) changeInCarPos = -ANIMDELTA;       // [left]
   else if (e.keyCode === 39) changeInCarPos = ANIMDELTA;   // [right]
   else if (e.keyCode === 83 && !gameIsRunning) // [S]
   {
      gameIsRunning = true;
      runGame();
   }
}

document.onkeyup = checkLift;
function checkLift(e)
{
   if (
         (e.keyCode === 37 && changeInCarPos < 0) ||
         (e.keyCode === 39 && changeInCarPos > 0)
      )
         changeInCarPos = 0;
}
The creation of this game was in an effort to teach the students about the gaming loop. Some of the notes I gave the students appear below.
The Gaming Loop
All games follow the same basic loop.
while(gameIsRunning)
{
	getInputs();	// controls, network, ...
	updateState();	// time, physics, collision detection
	renderFrame();	// display the new animation frame
}
Three steps involved in updateState() are usually:
- Calculate how much time has passed (on the wall clock) since the last frame (iteration).
- Create any new objects (a bullet after a trigger press for example) and calculate the new positions of all objects according to the established physics and the time calculated in step 1.
- Calculate collision detection (bullets striking targets for example), delete objects no longer needed, and update statistics.