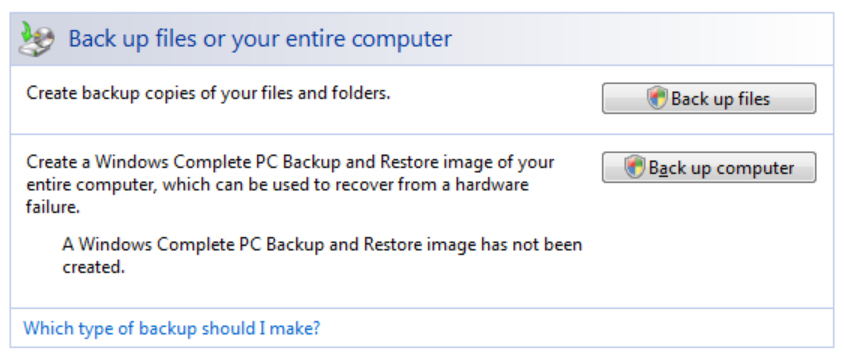
Recently the hard drive on which I had Vista installed began to behave erratically. But I wasn’t worried as I had been using Vista’s “Complete PC Backup”! What could possibly go wrong? However, try as I might, and I tried a lot, I wasn’t able to get the recovery to work. It always gave the same error message, “There are too few disks on this computer or one or more of the disks is too small.”
My trouble was caused by the fact that I wanted to replace my drive. The “Complete PC Recovery” works if all you want to do is to rollback to an earlier backup. It seems that Vista’s “Complete PC Backup” is not designed to help if your hard drive dies.
I cobbled together this fix after reading a thread in the Microsoft Technet Forum.
- Boot from the install DVD, click “Next”, “Repair…”, and then “Next”.
- You should be at a dialogue box titled “System Recovery Options”, select “Command Prompt” (ignore “Windows Complete PC Restore”).
- Use the command
diskpartto setup your new drive.
The use of diskpart is well documented in the forum thread mentioned above, or at many other places on the Web. If your target drive is not already formatted, then you’ll have to use diskpart to do that. The commands you’ll need to issue will most likely be different for your setup, but it basically goes something like this:list disk,select disk 0,clean,create partition primary,list partition,select partition 0,format quick.
Now, I’m not sure if the following was necessary, and it’s something you may also want to do even if your drive is already formatted. I issued the commandassign letter cwhilst I had the new volume selected. In any case you’ll need to know the drive letter of your target volume.
Once you’re finished, typeexitto leave diskpart. - Now, issue the command:
wbadmin get versions -backupTarget:e:
…substituting the drive letter of your backup drive, and copy the latest version string returned. - Next, issue the command:
wbadmin start recovery-version:12/23/2008-16:39-itemtype:volume-items:c:-backuptarget:e:-recoverytarget:c:
…substituting the necessary drive letters and version string. (Thanks to AtomicInternet for the command.) This is where assigning the current drive letter of “c” to the target drive saves some confusion. - Once it’s done return to the list of “System Recovery Options” and choose “Startup Repair”. This will rebuild the boot-sector of the recovered drive.
Notes:
- If you are using this to move to a smaller drive, and still have the original volume available, you can dynamically shrink the partition from within Vista before running a backup. (You use “Computer Management” to do this.) This may be necessary even if you think the two drives are the same size (for example, not all 500GB drives are identical in size). If the drive sizes differ by only a byte, the restore will fail.
- Contrary to the claims of others, it does not matter how your drives are interfaced for this method to work. It makes no difference if your drives are hooked up via USB, IDE or SATA. Even if one or both of your drives are moved from one interface to another between backup and restore, it will still work.
- Contrary to the experience of others, I did not have to re-authenticate my OEM copy of Vista. (In fact I’ve changed my CPU, RAM, video card, sound card and optical drive, all in addition to my hard drive, and I haven’t had to re-authenticate.)